
Have you ever had to help your users with resetting their AppleID password for their Apple device? Wouldn’t it be practical if their AppleID was synced with their other identities? Maybe their Apple device is not intended for personal use at all? Look no further – Managed AppleID is here to save the day!
What is Managed AppleIDs?
Managed AppleIDs is essentially using your identity provider to create an AppleID using federation. In our case, that would be EntraID. By setting up federation in Apple Business Manager (ABM) via EntraID, the end user can use their EntraID account to log onto Apple devices instead of their personal AppleID. By doing so, your IT department can achieve control over both the device and the user used to access it.
This article assumes you’ve already set up Apple Business Manager for your organization.
Now how is all this set up?
- Verify your domain
- Configure federation
- Configure Directory sync
- Testing and verification
Verify your domain in Apple Business Manager
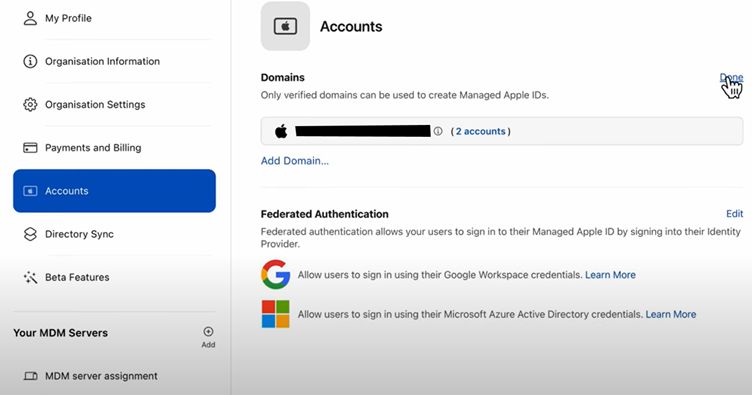
- The first step you need to do is verify your domain in ABM. Go to Accounts in ABM, click Edit under Domains and Add Domain… Type in your domain and click Add.
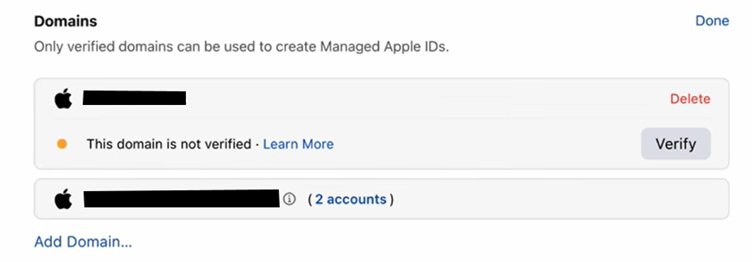
2. We then need to verify the domain by pressing Verify.
You will then be presented with a txt-record that you need to add to your DNS.
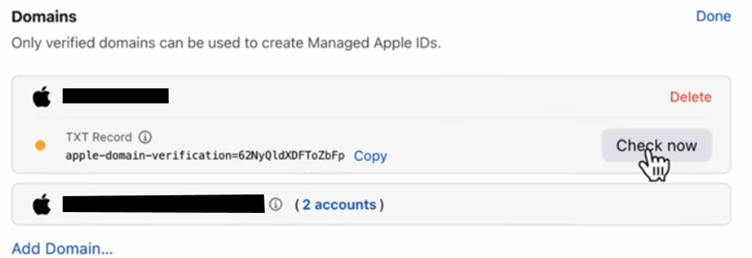
GoDaddy is used for this example.

3. Give that some time and press Check Now in ABM.
Now that your domain is verified in ABM, you can technically create users and give them a Managed AppleID manually in ABM. There’s a couple of problems with this method.
- The password is not synced with the end users EntraID identity.
- Users must be created in both EntraID and ABM.
To avoid these problems, we’ll set up federation between ABM and EntraID.
Federation between EntraID and Apple Business Manager
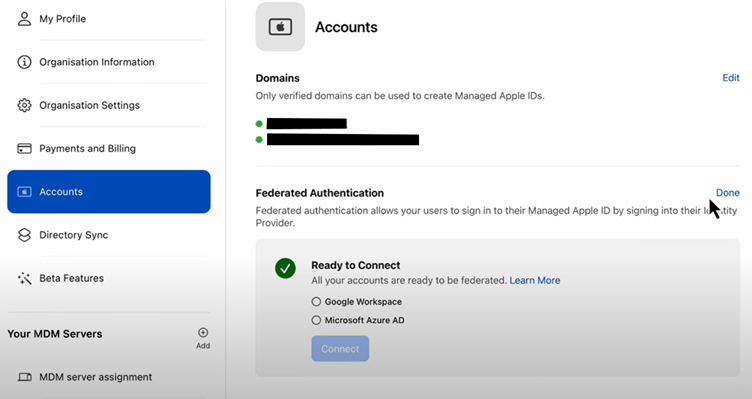
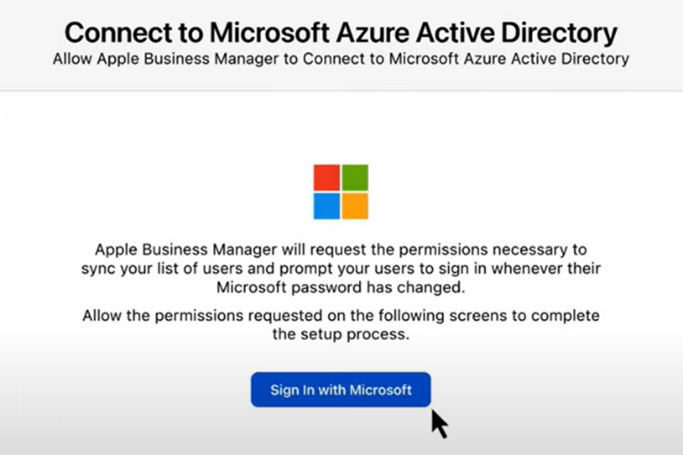
- To start setting up federation, go to Accounts, click Edit under Federation Authentication and choose Microsoft AzureAD (EntraID) and click Connect.
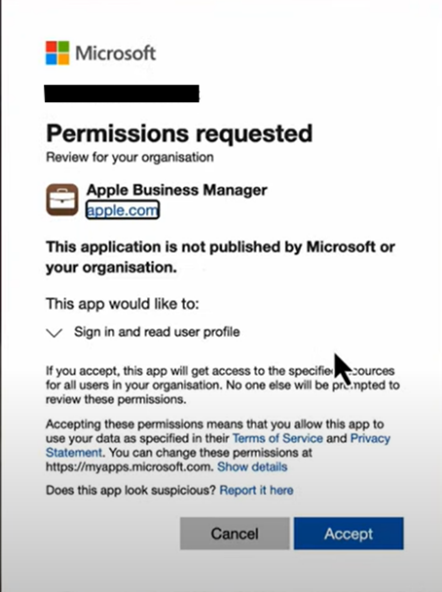
2. Login with an administrator account for you EntraID tenant. We used a global administrator account in this case, but it might be possible with an account with less privileges.
By accepting this prompt, it will effectively create an Enterprise Application named Apple Business Manager in your tenant.
3. Now we’ll need to federate the domain itself. Once again, go to Accounts, Domains, Edit and click Federate on your domain. You will then once again be prompted to login with your EntraID administrator account.
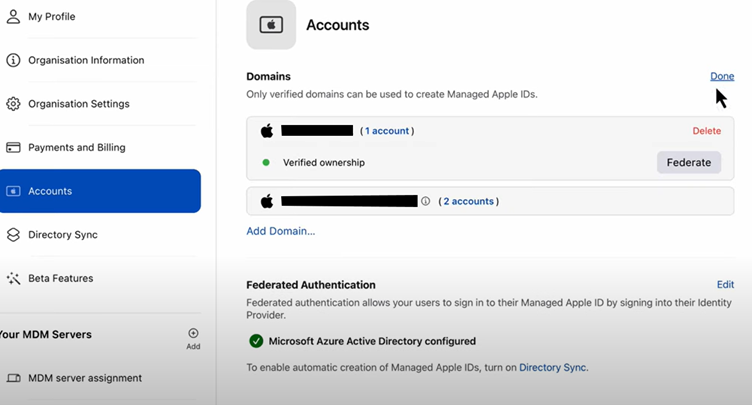
4. You’ll then need to enable federation, the green dot to the left of Verified ownership will turn yellow for a couple of seconds while it activates. Give it some time to sync.

Directory Sync
We’ll now need to start setting up the sync between EntraID and ABM.
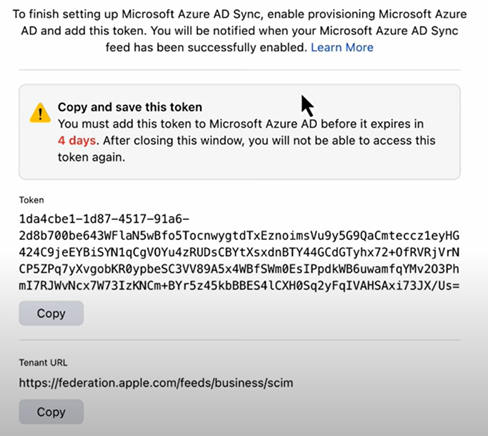
- Locate Directory Sync in ABM and press Enable besides Microsoft Azure AD Sync.
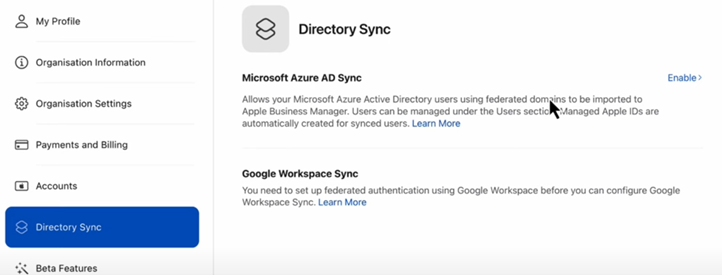
You will be presented with a token and a tenant URL that you’ll need to add into EntraID. Notice that it does expire within 4 days, so if you don’t do this within the expiration date you’ll have to go back a few steps. Keep the ABM tab open so you can copy them directly into EntraID.
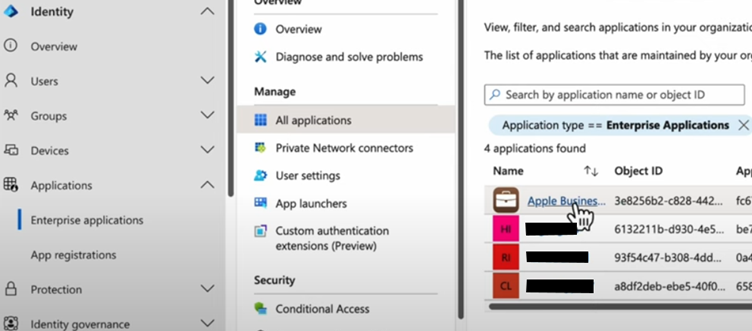
2. Go to Enterprise Applications in EntraID under Identity and Applications. Locate the newly created Apple Business Manager-application and click on it.
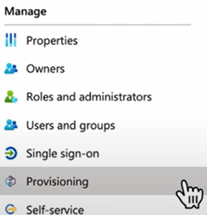
3. Click on Provisioning on the blade on the left side of the page.
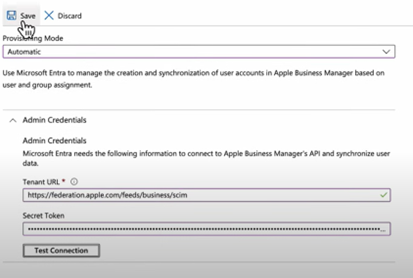
Press 4. Get Started and choose Automatic Provisioning Mode from the drop-down menu.
Enter the tenant URL and the token from Apple Business Manager.
5. Test the connection and press Save.
Once saved you get the ability to press a tab called Mapping. Here you can change what attributes that are synced to ABM. Have a look through them, but for this demo I’ll keep the default attributes.
Under settings you can also add an email address that gets notified if any failures occur.
6. Once Provisioning is set up, go to Users and Groups in the Enterprise Application. The users or groups that you enter here, are going to be synced to Apple Business Manager. Here I would personally add a group called “Apple Device Users” and add users into that group instead of directly into the Enterprise Application but do what suits you!
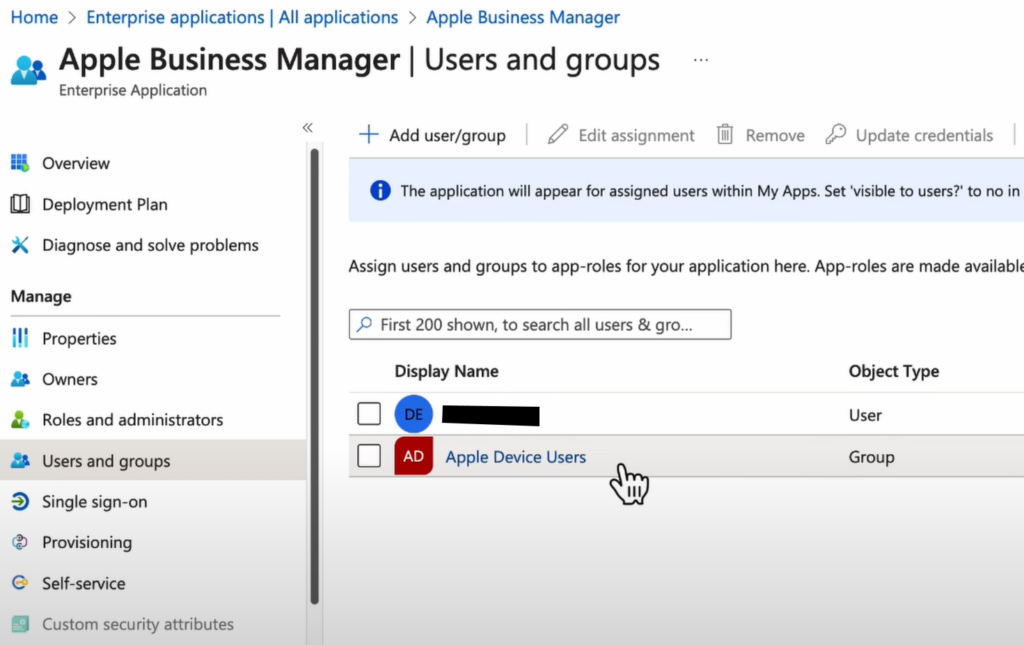
Note the blue bar that appears saying that the application will appear under My Apps for the end user. This is not very useful, and I would personally turn this off by pressing the blue bar and set “Visible to users?” to No.
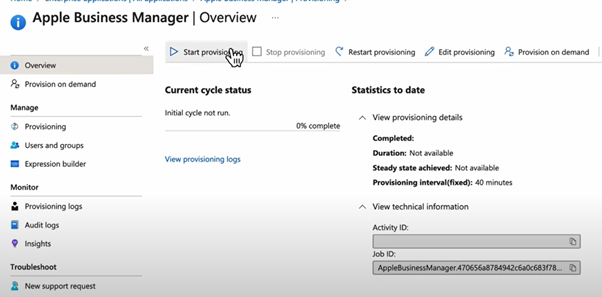
7. Go back to Provisioning in the Enterprise Application. And under Overview, press Start provisioning. As you see in the picture below it will provision every 40 minutes.
Give it some time to run and eventually the users that you have added to the Enterprise Application will start to show up under Users in Apple Business Manager, with their EntraID identity listed as their Managed AppleID! They can now log on their Apple devices with their new Managed Apple ID that is synced with their EntraID identity.
I hope this guide was helpful and please check out our other guides!
Author
Discover more from Agder in the cloud
Subscribe to get the latest posts sent to your email.