
Okay, so we labels activated and in use – at least if you read my last posts – Get Copilot ready(-ish) – with Microsoft Purview – Agder in the cloud and Get Copilot ready(-ish) – with labels – Agder in the cloud
First up, you’ve got retention policies which are pretty handy for figuring out when to ditch data or how long to hang onto it. Say you’ve got a team or a SharePoint site that needs to store data for like 5 years, you can just slap a retention policy on that site to keep everything for 5 years, and then chuck it if you need to.
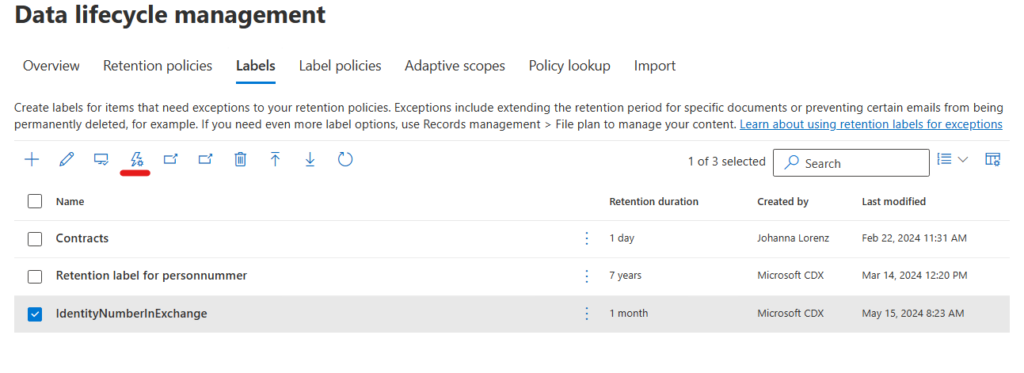
We can use retention labels to manage how long certain data sticks around. For example, we really shouldn’t keep identity numbers stored in exchange. So, we’ll slap an automatic label on those identity numbers, and pop a retention label on them, then wipe everything in Exchange that’s tagged with it a month after creation.
Make sure you give everyone a heads-up about this and have some clear guidelines available so everyone knows what’s up.
Why do we need to do this?
We want to increase the security of our data, and we want to be compliant when it comes to GDPR – I know, its not very sexy..
And because we are a bunch of hoarders, that keeps all type of files forever because it might come in handy, we need to set up a structure to keep the files that are valuable and delete all files that are not.
So we want to use a retention policy to control how long we keep the data for our organization and choose in advance whether to keep content, remove content, or keep and then remove the content.
Even though a retention policy can work with multiple services that are called “locations” in the retention policy, you can’t make one retention policy that covers all the supported locations:
- Exchange mailboxes
- SharePoint sites or SharePoint classic and communication sites
- OneDrive accounts
- Microsoft 365 Group mailboxes & sites
- Skype for Business
- Exchange public folders
- Teams channel messages
- Teams chats and Copilot interactions
- Teams private channel messages
- Viva Engage community messages
- Viva Engage user messages
When you create a retention policy, you can either select the Teams or Viva Engage locations or the other locations, but not both. This means that the steps you need to take vary depending on whether you want to include the Teams or Viva Engage locations.
Keep in mind that the policy type you select, whether adaptive or static, will affect how it is established – With adaptive policies, you can apply one retention policy to both Teams and Viva Engage locations, while static policies need separate retention policies for Teams and Viva Engage locations.
Depending on the portal you’re using, navigate to one of the following locations:
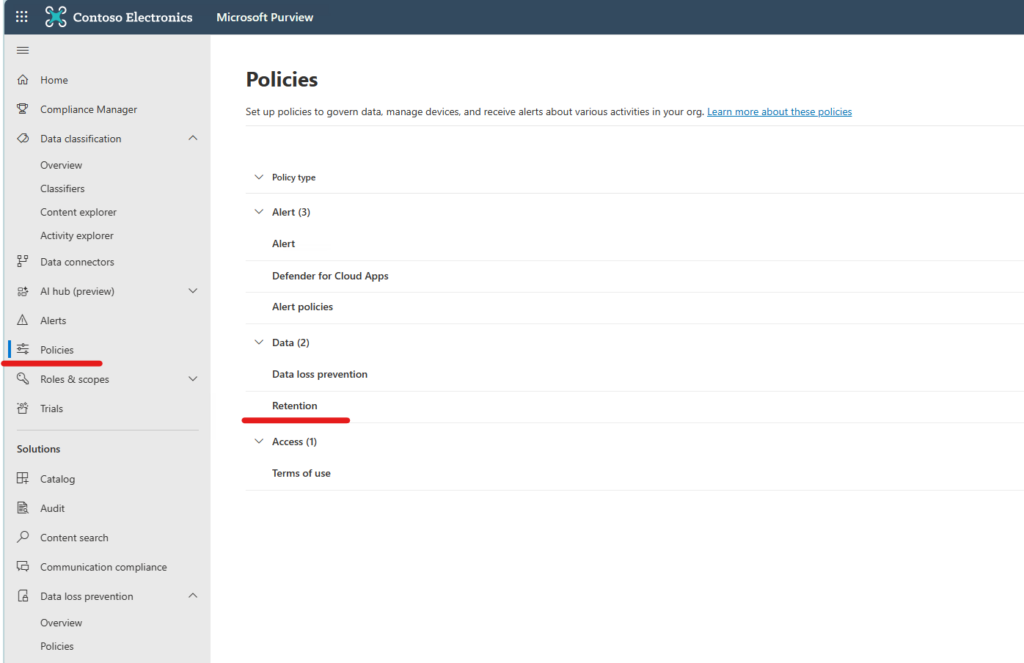
- Sign in to the Microsoft Purview portal > Data Lifecycle Management card > Policies > Retention policies.
If the Data Lifecycle Management solution card isn’t displayed, select View all solutions and then select Data Lifecycle Management from the Data Governance section.
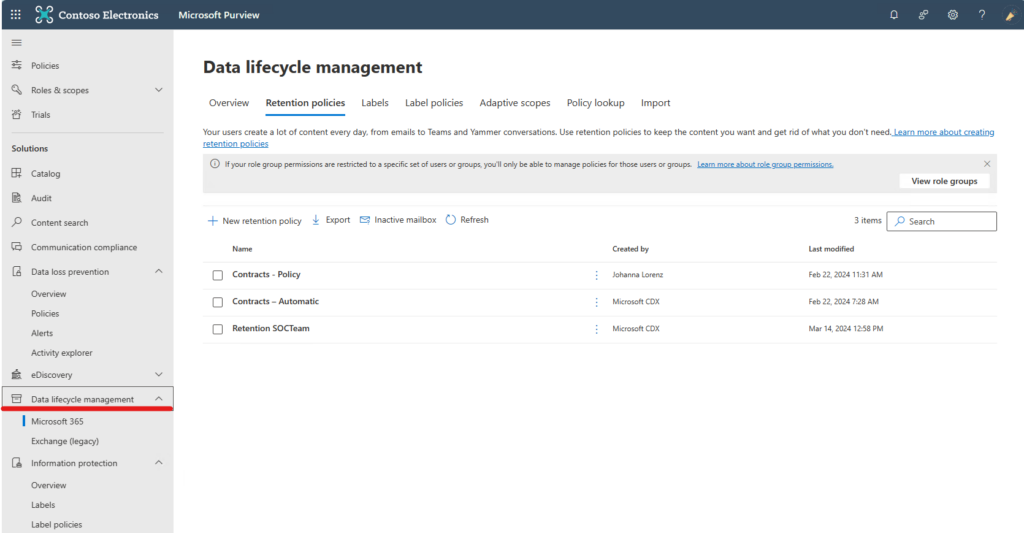
- Sign in to the Microsoft Purview compliance portal > Solutions > Data lifecycle management > Microsoft 365 > Retention Policies.
The steps
- Select New retention policy to start the Create retention policy configuration, and name your new retention policy.
Adaptive scope
- Make sure you set up an adaptive scopes under Roles & Scopes section before you start on the retention policy. Check out the video for more details!
Static scope
Retention Label
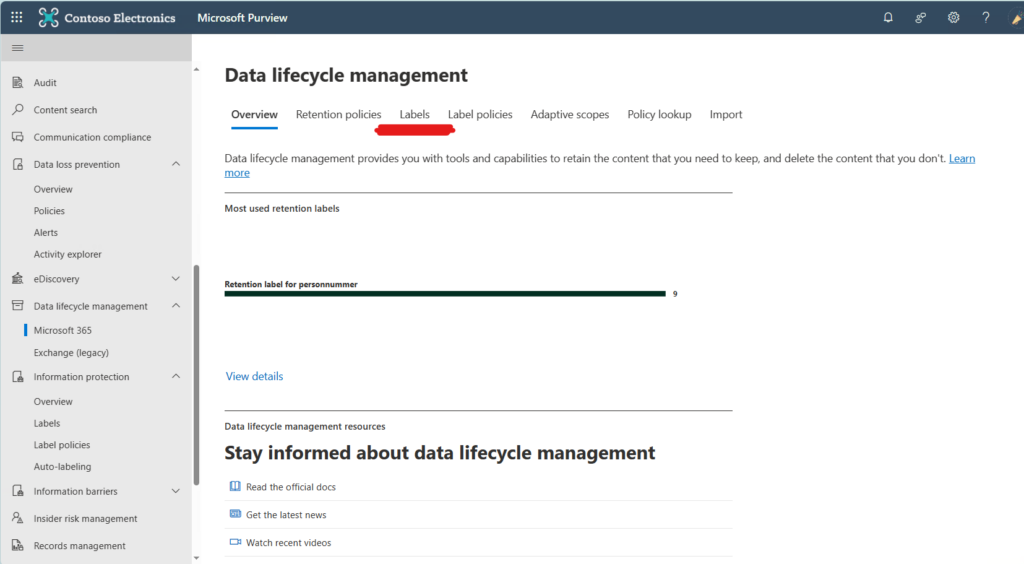
- Use the same solution > Data lifecycle management > Microsoft 365 > Labels
- Create your label or go to Auto-Labeling where you can use preexisting sensitive info types.
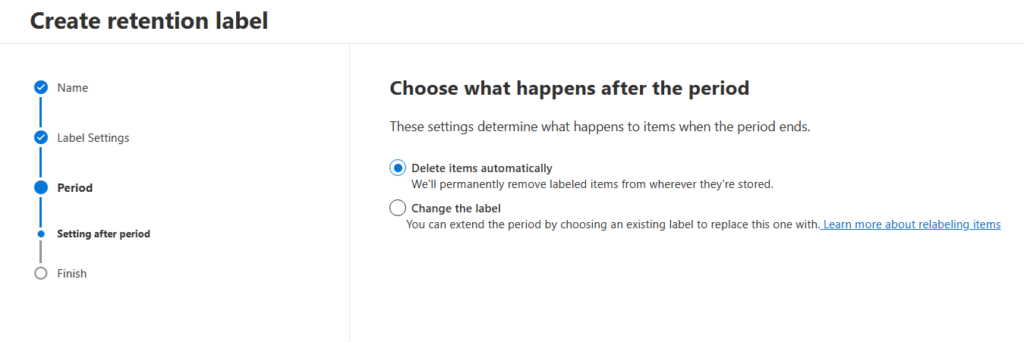
- Give your label a good name and description, both for the end users and for admins. Then choose the label settings. Should it be retained or deleted, or just labeled.
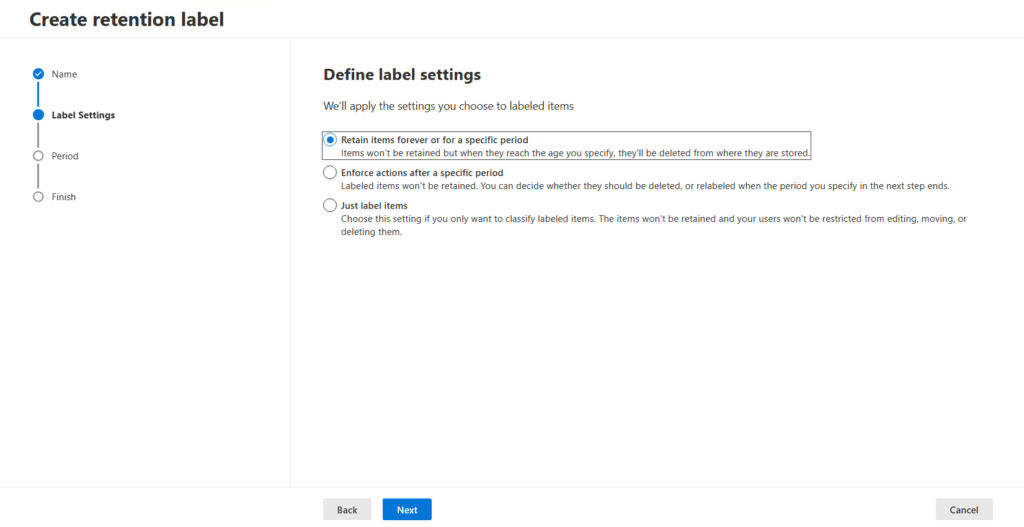
- Define the length of your retention or when the item should be deleted.
I usually use the created options on emails—mainly because information like this should not be in emails; it should live in proper systems so that emails are just temporary. I always say that nothing of importance should live in Exchange or in OneDrive—and that is a rule to follow 😉
- Finish up the label, and now we need to create an auto-labeling policy.
Auto-Labeling Policy
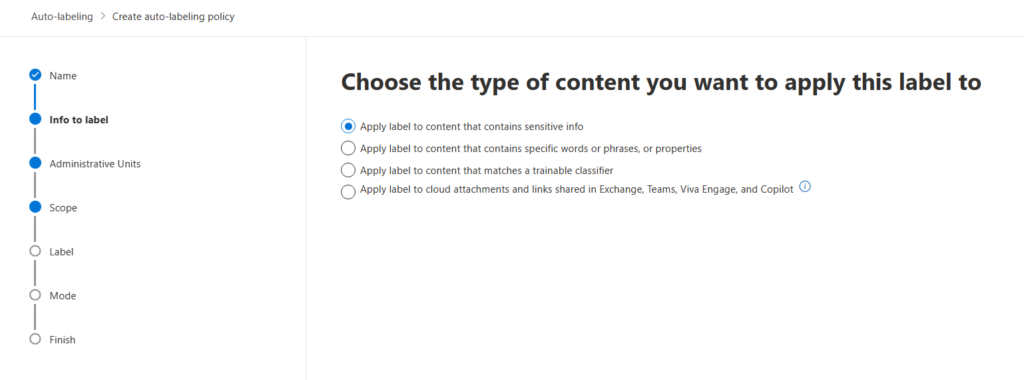
We need to choose the type of content we want to apply this label to, you can use sensitive info, that will give you the sensitive info types that exists or you can create your own.
You can add it to spesific words, phrases or properties that you set, or we can match trainable classifiers. There is also an option to use it for cloud attachments and sharing links.
For this task, I’m aiming to clear out all emails that are over a month old AND contain identity numbers, so I’m picking the option with sensitive info.
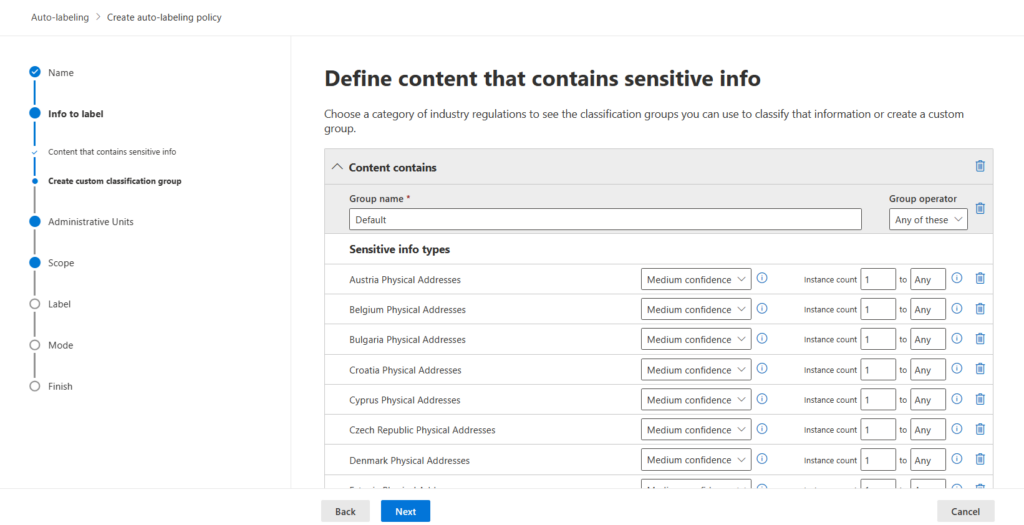
- Next step is to choose GDPR Enhanced
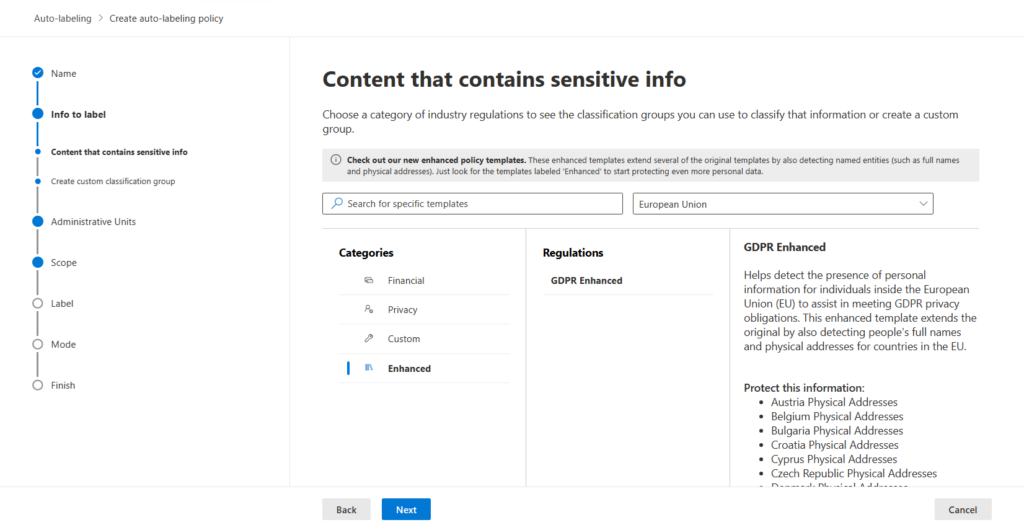
- And then delete all the instances you don’t need.
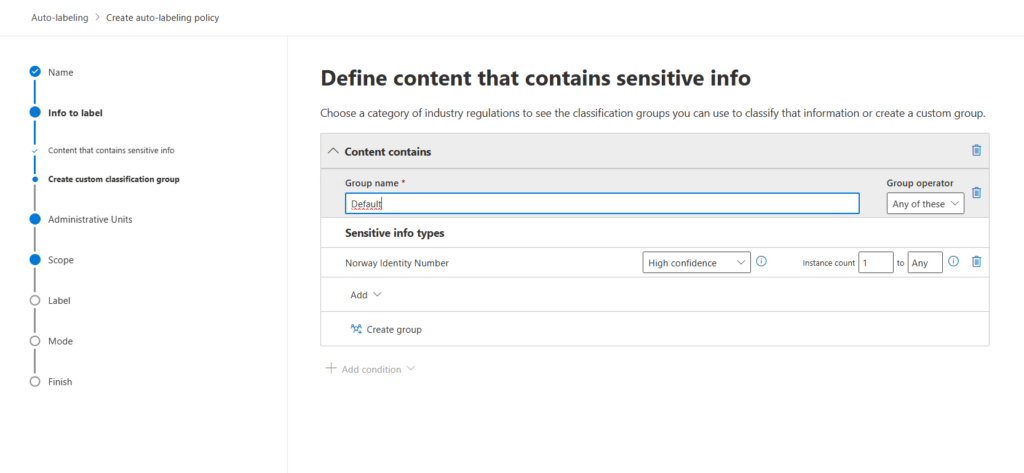
I deleted all of these and added the choice Norway Identity number
- Ensure you review the remaining sections of the policy to confirm the scope and the locations where it will be active. Since this pertains to email, I’ve selected Exchange Mailboxes as the applicable service.
Always test a policy before you publish it!
When you wrap things up with those final steps, you’ll find all your policies under Label policies.
It’s a great start to chuck out things you really shouldn’t be keeping, both for legal and storage space reasons 😉 But don’t forget, it’s just as important to keep the stuff you definitely shouldn’t toss out!
***
Disclaimer: Just a heads-up, folks! The features are gonna differ based on the different Microsoft licenses.
***
Author
Discover more from Agder in the cloud
Subscribe to get the latest posts sent to your email.